Password protecting a page with WordPress is an incredibly simple task, and it only requires a few click to be done. In this WordPress tutorial, I’ll walk you through how you can quickly password protect a single page in WordPress.
Create The Page
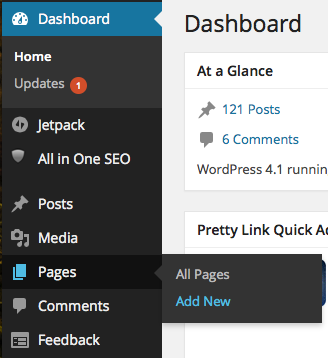
If you don’t already have a page created that you want to password protect, the first step that you’ll need to do is go to your WordPress dashboard and hovering over the “Pages” tab in the sidebar. After that, you’ll see an option that says “Add New,” and you’ll need to select that option. Obviously, if you already have the page created, you’ll just need to go to the page and follow the steps.
Create Some Content
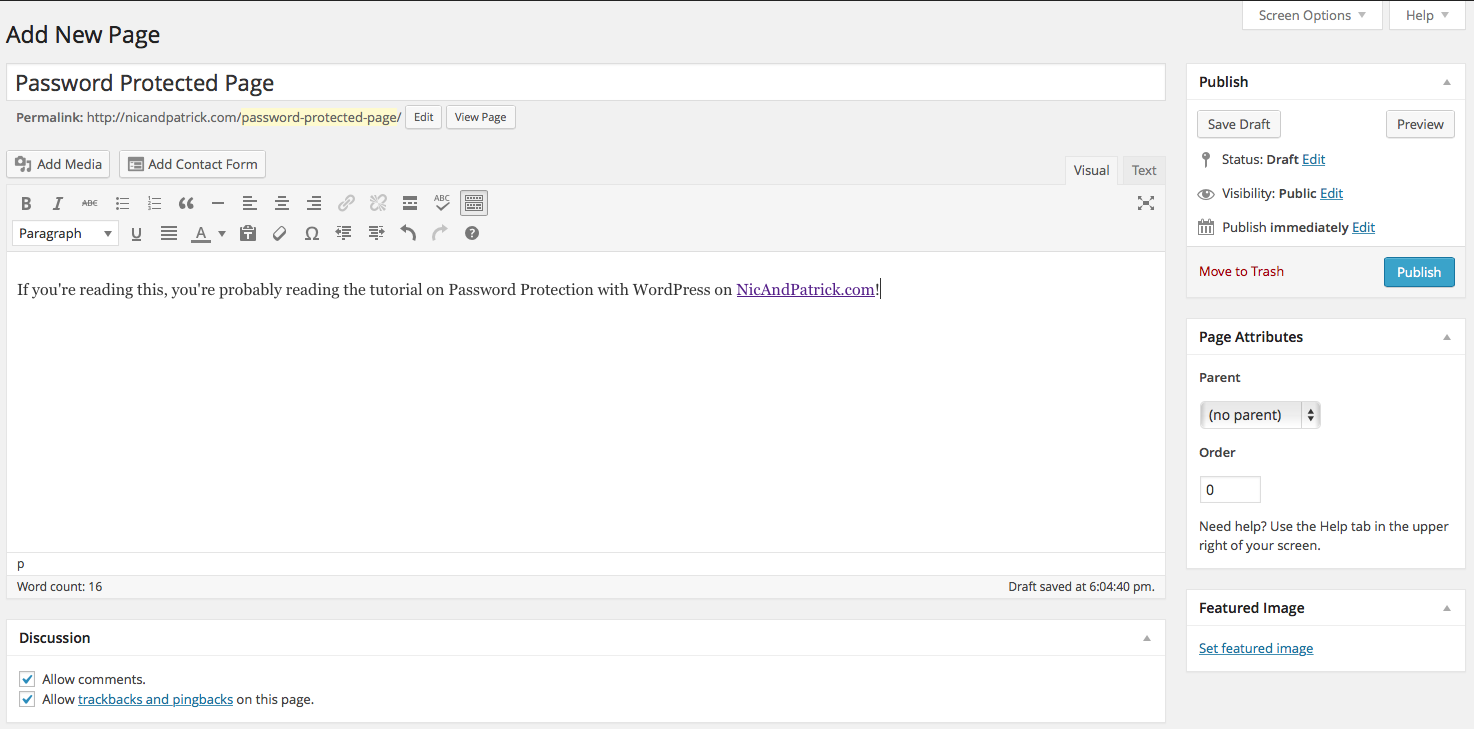
If you’re just creating the page, you’ll need to add some content to it. After all, there isn’t much of a point in password protecting a page with nothing on it. After you have the content added that you want to protect from general visitors, all you need to do is set the password.
Setting Your Password
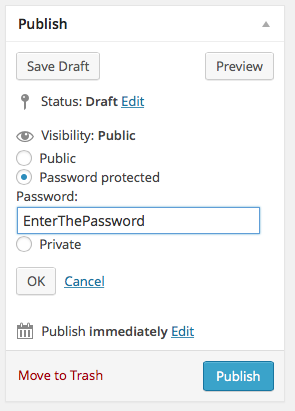
After you’ve created your content, you’ll need to set the password. To do this, head over to the right side of the page where it says “Publish.” From there, click on the “Edit” button next to the Visibility category. After that, chose the “Password protected” option, and enter the desired password for the page. Obviously, this password is up to you.
Test Your Protection
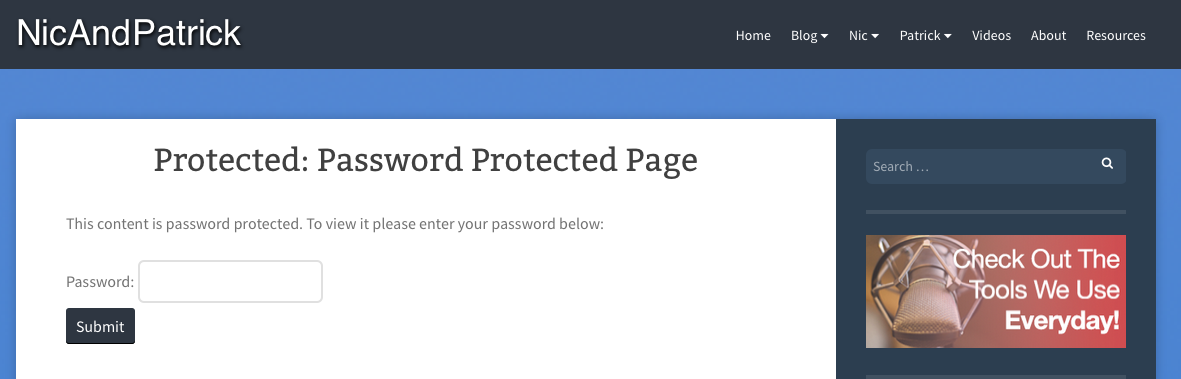
Go to another web browser, or open up a “Private” window in the current browser. Once done, head on over to the page that you password protected. The reason that you’ll need to do use a private window or use another browser is due to the fact that you won’t have to log out of your account to test the password. If you’re logged in, you won’t have to enter the password, so to test, use one of the methods shown.
If all goes well, you should be able to access the page only if you entered the correct password. After that, you’re done!
Video Tutorial